
Patch Testing New Skincare Products: A Practical Walkthrough

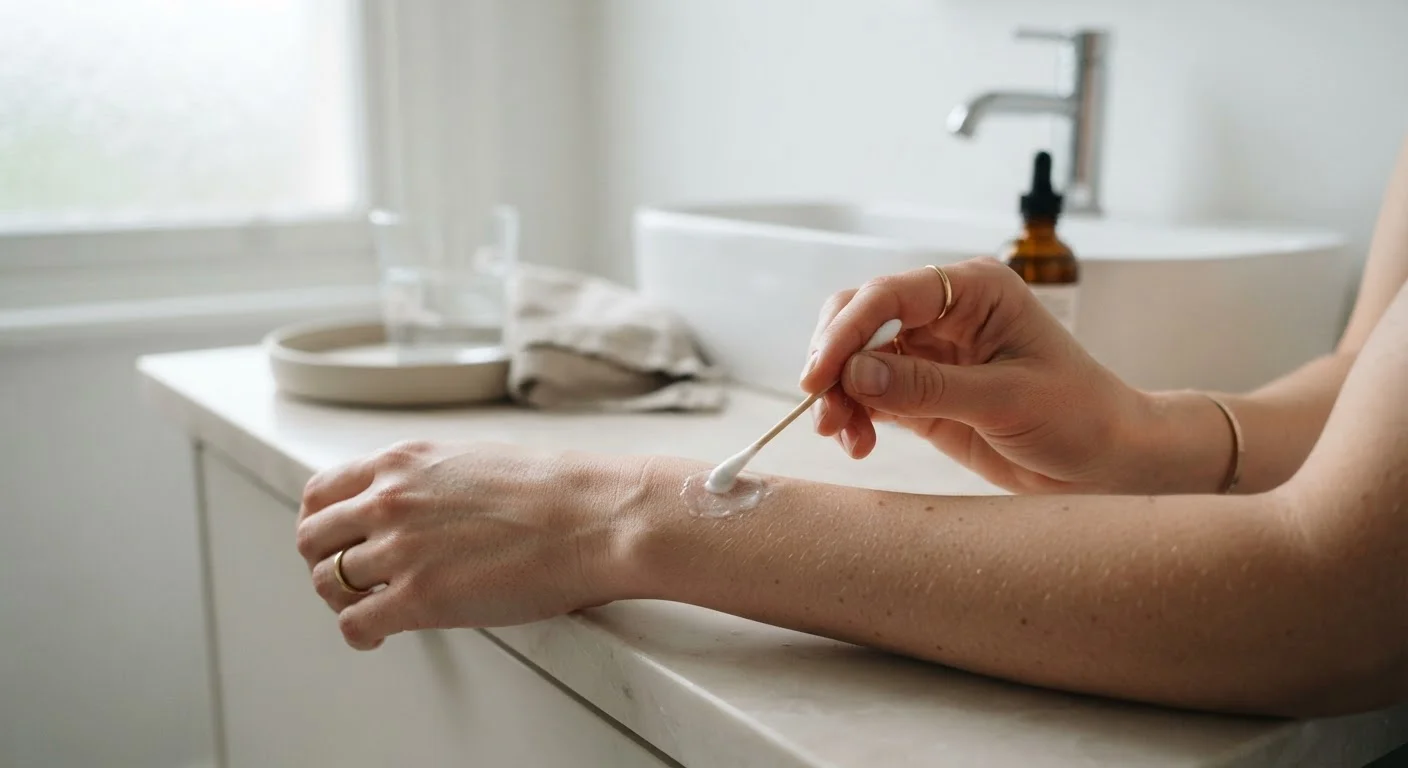
Photo: FaqExplorer.net | Informative Website editorial
Key Takeaways
- Patch testing reveals individual skin reactions before you apply a new product to your entire face.
- The inner forearm or behind the ear are reliable, sensitive test sites.
- A minimum 24-hour observation window is recommended; 48 hours is more thorough.
- Redness, itching, swelling, or breakouts during testing signal you should avoid that product.
- Even products labeled 'hypoallergenic' or 'natural' can cause reactions in some individuals.
- Active ingredients like retinoids and exfoliating acids especially benefit from a patch test first.
Why Patch Testing Belongs in Every Skincare Routine
Introducing a new skincare product - even one with a glowing reputation - carries a real risk of skin irritation, allergic contact dermatitis, or breakouts. Patch testing is the dermatologist-recommended practice of applying a small amount of a product to a limited skin area before full-face use, giving your skin a chance to signal incompatibility in a contained way.
This step is particularly valuable when you're adding potent actives such as retinoids, alpha-hydroxy acids (AHAs), or vitamin C derivatives. If you're building a new skincare routine from scratch, patch testing every new addition individually makes it far easier to identify a culprit if something does go wrong.
It's also worth remembering that ingredient claims like 'hypoallergenic,' 'fragrance-free,' or 'natural' are not guarantees of universal tolerance. Skin sensitivity is individual - what works beautifully for one person can trigger a reaction in another.
Test Every New Product, Not Just Actives
What You'll Need Before You Start
The setup for a patch test is minimal, and you likely have everything you need already.
What you will need
You'll also want to avoid applying the test product over broken, sunburned, or actively irritated skin, as this can skew results or worsen existing issues. Similarly, keep the test site free of other products during the observation period to avoid confounding variables.
Step-by-Step: How to Patch Test Correctly
Follow these steps in order for the most reliable results. If you're testing multiple new products at the same time - for example, when revising your full regimen - test each one on a separate, clearly identified site.
Choose your test site
Select a small area of skin that is sensitive but also discreet. The inner forearm (just below the elbow crease) and the area behind the ear are both widely recommended. These sites tend to react similarly to facial skin while being easy to monitor and unlikely to be irritated by clothing or environmental friction.
Cleanse and dry the area
Wash the test site with a mild cleanser and pat it completely dry. Applying a product to skin that still has residue from other products - moisturizer, sunscreen, perfume - can interfere with the test results or cause a reaction that isn't attributable to the new product alone.
Apply a small, consistent amount
Using a clean cotton swab or the tip of a clean finger, apply a pea-sized amount - or a thin, even layer - of the product to the test site. Mirror the way you would typically apply it (e.g., a serum dabbed on, a cream smoothed in). Label the site lightly with a skin-safe marker if you're testing multiple products simultaneously.
Leave the area undisturbed
Do not rinse, rub, or cover the test site (unless the product is a rinse-off formula, in which case follow its intended usage instructions). Keep the area free of other skincare products throughout the observation window. Avoid excessive sweating or prolonged water exposure at the test site during this period.
Monitor for 24 to 48 hours
Check the site at regular intervals - at the 1-hour mark, the 24-hour mark, and again at 48 hours if no reaction has appeared. Note any changes in color, texture, or sensation. A brief log or photo taken in consistent lighting can help you compare accurately across time points.
Once you've completed the observation window without any adverse reaction, you can begin introducing the product gradually into your routine - starting with every other day if it contains a potent active ingredient. For guidance on how pairings between active ingredients can affect your skin, see our article on ingredient conflicts that can quietly undermine your routine.
Interpreting Your Results
After 24 to 48 hours, examine the test site in good natural light. Here's how to read what you see:
- No reaction: The site looks identical to the untested surrounding skin - no redness, bumps, or change in texture. This is a good sign that you can proceed with caution.
- Mild redness or warmth: A slight flush that fades quickly after application may indicate mild sensitivity rather than a true allergy. Consider whether this ingredient is one you need, and proceed thoughtfully - or consult a dermatologist before continuing.
- Persistent redness, itching, hives, or swelling: These are clear signals that this product is not suitable for your skin. Discontinue immediately, wash the area gently with cool water, and do not apply the product to your face.
- Breakouts or clogged pores at the test site: Some ingredients are comedogenic (pore-clogging) for certain skin types. A new pimple or cluster of bumps at the test site suggests the formulation may not agree with your skin.
If a reaction is severe - including significant swelling, difficulty breathing, or widespread hives - seek medical attention promptly. These symptoms may indicate a serious allergic response.
Stop Use Immediately if Reaction is Severe
Patch testing is also a smart practice before your first salon color appointment, where professional-grade chemical formulations are involved.
This article is for general informational purposes only and is not a substitute for personalized advice from a qualified dermatologist or healthcare professional. If you have a known allergy, skin condition, or experience a severe reaction, consult a medical professional promptly.
The content on this site is provided for informational purposes only and should not be considered a substitute for professional advice. While we strive to provide accurate and up-to-date information, we make no guarantees regarding its completeness or accuracy. Always consult a qualified professional for advice specific to your circumstances before making any decisions.