Home Improvement

Why Bathroom Tile Projects Go Wrong—and How to Prevent It

Why Bathroom Tile Projects Go Wrong—and How to Prevent It

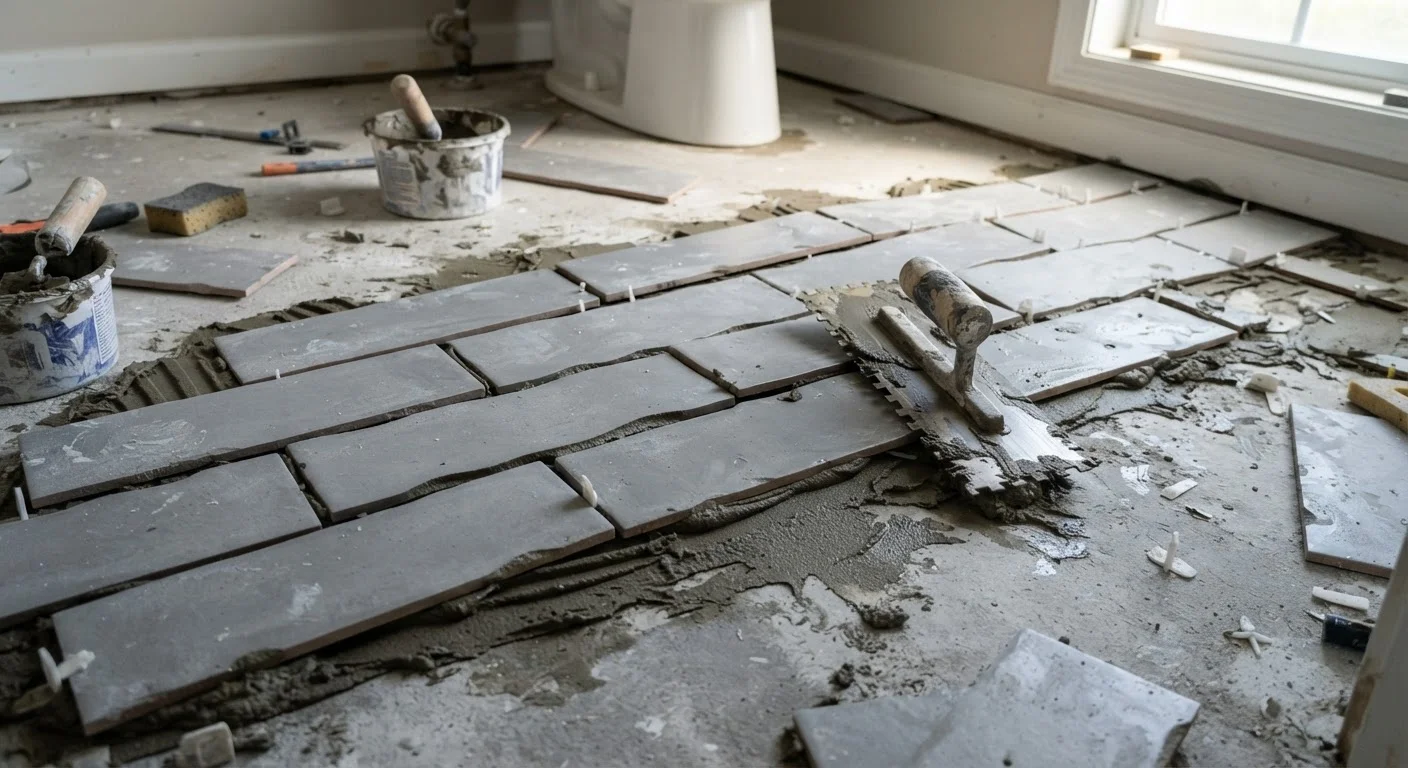
Photo: FaqExplorer.net | Informative Website editorial

Uneven grout lines, loose tiles, and moisture damage often trace back to a handful of avoidable errors made during prep and installation.

Key Takeaways

  • Skipping surface preparation is the single most common cause of tile failure over time.
  • Moisture barriers and waterproofing membranes are essential in wet bathroom zones, not optional upgrades.
  • Correct mortar coverage — at least 95% for wet areas — prevents hollow spots and eventual cracking.
  • Grout joint size and spacing should be planned before laying a single tile, not adjusted on the fly.
  • Grouting too soon after setting tiles compromises the bond and invites premature cracking.

Why Bathroom Tile Projects Fail More Often Than They Should

Bathroom tile renovations rank among the most popular DIY home improvement projects — and among the most frequently redone. The reasons tiles crack, pop loose, or develop dark moisture stains rarely come down to bad luck. They trace back to a handful of predictable, preventable mistakes made during planning and installation.

Understanding what goes wrong — and why — gives homeowners a meaningful advantage, whether they're tackling the work themselves or supervising a hired tile setter. For broader project context, see this guide to understanding renovations before you start.

1

Failing to properly prepare the substrate before setting tile.

Why it happens: Homeowners are eager to see visual progress and underestimate how much the substrate — the surface beneath the tile — affects the finished result.
How to avoid: Inspect the existing surface for deflection, moisture damage, and levelness before purchasing materials. Cement backer board or a comparable tile-specific underlayment should be used in wet areas; standard drywall is not an appropriate substrate where water contact is likely. A floor that flexes underfoot will crack grout and eventually pop tiles loose.
2

Skipping or underspecifying waterproofing membranes in wet zones.

Why it happens: Many installers assume grout is waterproof. It is not — standard sanded or unsanded grout is porous and will absorb moisture over time.
How to avoid: Apply a waterproofing membrane — sheet-applied or liquid — to shower walls, floors, and any surface within the wet zone before tiling. Pay particular attention to corners and seams, which are the most common entry points for water infiltration. Tile-over-tile membrane systems are widely available and compatible with most mortars.
3

Using insufficient mortar coverage, leaving hollow spots behind tiles.

Why it happens: Installers sometimes use too little mortar, apply it unevenly, or skip back-buttering large-format tiles, resulting in tiles that are only partially bonded.
How to avoid: Industry standards call for at least 95% mortar coverage in wet areas and 80% in dry areas. Back-butter large tiles in addition to applying mortar to the substrate. Use the correct trowel notch size for your tile format — larger tiles require larger notches to transfer adequate material.
4

Planning the layout without accounting for cuts at walls and obstacles.

Why it happens: Beginners often start tiling from a corner or edge rather than finding the visual center of the room, which pushes awkward slivers to the most visible areas.
How to avoid: Dry-lay tiles across the floor or wall without adhesive first, snapping layout lines from the center of the space outward. Adjust the starting point so cuts at opposing walls are roughly equal and any cut tile is at least half a tile wide. This step takes time but prevents a result that looks unbalanced.
5

Grouting too soon after the mortar has been applied.

Why it happens: Project timelines feel tight, and the tiles look set — so the temptation to grout the same day is strong.
How to avoid: Follow the mortar manufacturer's cure time instructions, which typically call for 24 hours minimum before grouting — longer in humid or cool conditions. Grouting before the mortar has fully cured can disrupt the bond and introduce stress fractures. Use this waiting period to check for any tiles that have shifted or need adjustment.
6

Neglecting to seal grout after installation.

Why it happens: Sealing grout is often treated as an optional finishing step rather than a necessary part of the project, and many homeowners skip it entirely.
How to avoid: Apply a penetrating grout sealer after the grout has cured — typically 48 to 72 hours after grouting. Reapply sealer annually in high-use areas like showers. Unsealed grout in wet bathrooms absorbs soap residue, hard water minerals, and mold spores, which are difficult to clean and can eventually degrade the grout itself.

Setting Yourself Up for a Lasting Result

Most tile failures are baked in before a single tile is pressed into place. The installation phase gets all the attention, but it's the decisions made beforehand — substrate choice, waterproofing, layout planning — that determine whether a bathroom tile job holds up for a decade or starts failing within a few years.

Moisture Behind Tiles Is a Hidden Risk

Water that penetrates through unsealed grout or inadequate waterproofing doesn't always cause visible damage immediately. It can saturate backer board, reach framing, and promote mold growth inside the wall cavity for months before symptoms appear. By the time tiles begin to pop or soft spots develop underfoot, the remediation work can be significantly more expensive than proper waterproofing would have been. When in doubt about your existing substrate's condition, consult a licensed tile contractor before proceeding.

Permits and inspections are worth checking before you begin. Some jurisdictions require permits for bathroom remodels that involve plumbing or structural changes, and unpermitted work can complicate home sales. Verify your local requirements before demolition starts. If you're considering bringing in a professional, what experienced homeowners do differently when hiring contractors is a useful reference for avoiding costly disputes.

Tile work shares something with painting: the preparation stage matters far more than most people expect. Common myths about interior painting offer a parallel lesson — shortcuts taken before the main work begins almost always show up later as visible defects.

This article provides general home improvement information for educational purposes. Always consult a licensed contractor or tile professional for guidance specific to your project, and verify permit requirements with your local building authority.

Real Estate Editorial Team

FaqExplorer.net | Informative Website

Real Estate Editorial Team is the collective byline for our editorial team and contributor network. Articles published under this byline or an editorial pen name are researched, written, and reviewed according to our editorial standards for clarity, consistency, and independence before publication.

Buying a HomeRenting SmartHome Improvement
View author profile

The content on this site is provided for informational purposes only and should not be considered a substitute for professional advice. While we strive to provide accurate and up-to-date information, we make no guarantees regarding its completeness or accuracy. Always consult a qualified professional for advice specific to your circumstances before making any decisions.