
Caulking Windows and Doors Before Winter Sets In

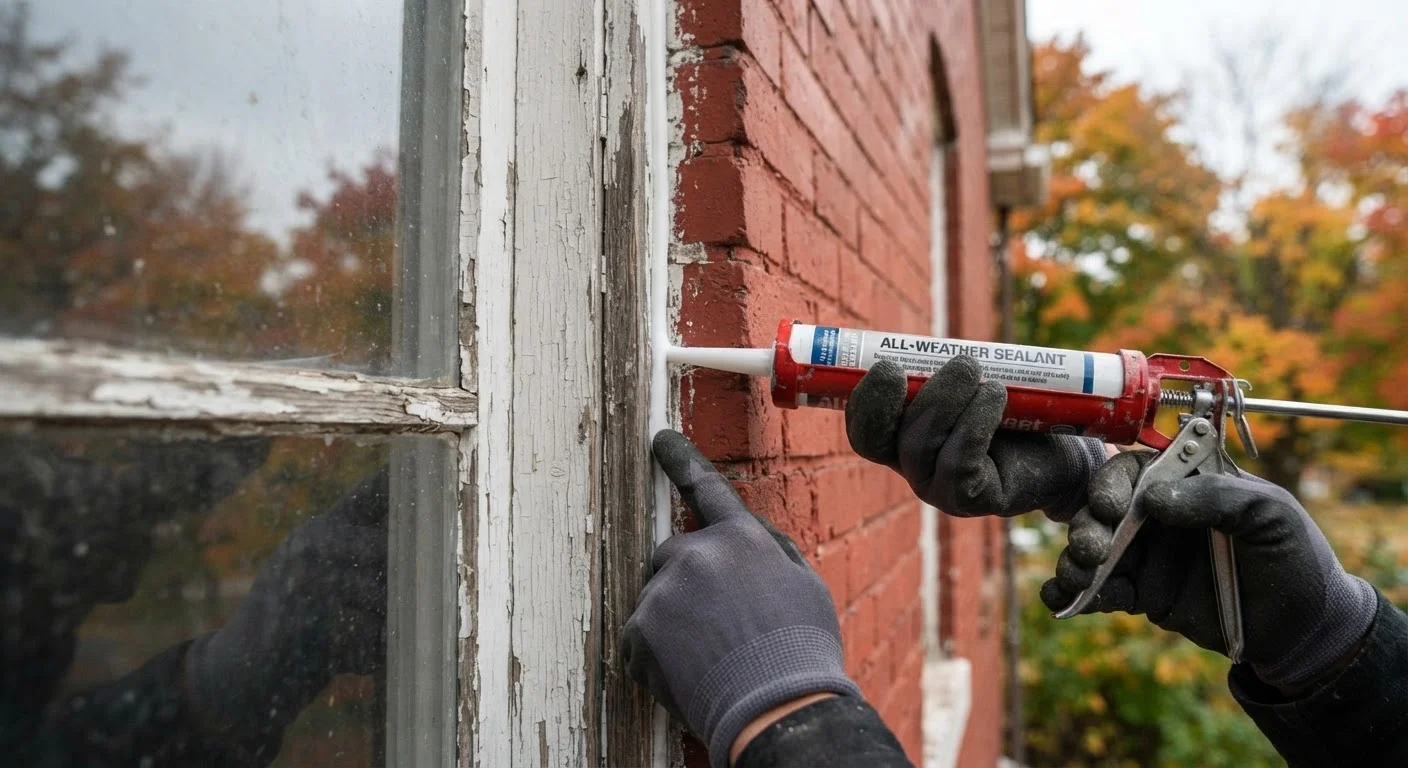
Photo: FaqExplorer.net | Informative Website editorial
Key Takeaways
- Old or cracked caulk allows drafts and moisture that can raise heating costs and cause structural damage.
- Silicone and siliconized latex caulks are generally the most durable choices for exterior applications.
- Clean, dry surfaces are essential - caulk applied over dirt or old residue will fail quickly.
- Most caulk needs 24 hours to cure fully before exposure to rain or cold temperatures.
- Caulking pairs well with other weatherization steps like replacing worn weatherstripping.
Why Sealing Gaps Before Winter Matters
Air infiltration around windows and doors is one of the leading sources of heat loss in residential buildings. Even a small continuous gap can allow significant cold air exchange over the course of a winter season, placing unnecessary load on heating systems and creating uncomfortable drafts near living spaces.
Beyond comfort and energy efficiency, unsealed gaps allow moisture to penetrate the wall assembly. Over time, this leads to wood rot, mold growth, and potential damage to insulation - problems that are far more costly to repair than the caulk itself. The U.S. Department of Energy identifies air sealing as one of the most cost-effective weatherization measures available to homeowners.
Caulking works best as part of a broader pre-winter preparation effort. See the seasonal home maintenance checklist for a full audit of tasks that are commonly overlooked before temperatures drop. It's also worth noting that moisture problems in the wall and attic system are interconnected - understanding how roof ventilation works can help you see the bigger picture of moisture management in your home.
Test the Existing Seal First
Choosing the Right Caulk for the Job
Not all caulks perform equally in exterior applications. Selecting the wrong formulation is one of the most common reasons caulk fails prematurely.
- Silicone caulk offers excellent flexibility, UV resistance, and adhesion to non-porous surfaces like glass and metal. It is highly durable but generally cannot be painted, which matters on visible painted trim.
- Siliconized latex (also called latex plus silicone) combines paintability with improved flexibility compared to pure acrylic. It is a practical all-around choice for most window and door framing situations.
- Acrylic latex caulk is easy to apply and paint, but it is less flexible over time and tends to crack in climates with large temperature swings - making it a lower-durability option for exterior use.
Always confirm the product label indicates suitability for exterior use and the specific materials you are sealing - wood, vinyl, aluminum, or masonry each have different surface characteristics.
Do Not Caulk Over Weep Holes
What you will need
Caulk gun
Dispenses caulk from the tube at a controlled, steady rate for a smooth bead.
Exterior silicone or siliconized latex caulk
Creates a flexible, weather-resistant seal along gaps between the frame and wall surface.
Utility knife or caulk remover tool
Cuts away and lifts old caulk without damaging the surrounding surfaces.
Wire brush or stiff-bristle brush
Cleans debris and loose material from the gap before new caulk is applied.
Isopropyl alcohol or mineral spirits
Degreases the surface to promote strong caulk adhesion.
Painter's tape
Creates clean, straight lines on either side of the gap for a professional finish.
Caulk finishing tool or gloved finger
Smooths the bead into the gap for complete contact and a neat appearance.
Step-by-Step: How to Caulk Windows and Doors
Inspect Every Window and Door Frame
Walk the perimeter of your home and examine the joint where each window and door frame meets the siding or exterior wall. Look for caulk that is cracked, shrinking, peeling, or completely absent. Note gaps wider than approximately ¼ inch - these may require a backer rod (a foam rope inserted into the gap) before caulking to avoid excessive material use and ensure a proper seal.
Remove All Old Caulk
Use a utility knife or a dedicated caulk removal tool to score and peel away the existing caulk. Work carefully along the seam without gouging the window frame or siding material. For stubborn residue, a plastic scraper or caulk-softening solvent can help. Removing all old material is non-negotiable - layering new caulk over compromised old caulk leads to early failure.
Clean and Dry the Surface
Brush away dust, loose paint chips, and debris with a stiff-bristle brush. Wipe the area with a rag dampened with isopropyl alcohol or mineral spirits to remove oils and residue. Allow the surface to dry completely - even slight moisture trapped under new caulk will prevent proper adhesion and shorten its lifespan.
Apply Painter's Tape (Optional)
For a cleaner finished look, apply painter's tape on both sides of the gap - along the siding and the window frame - leaving the joint exposed. Press the tape edges firmly so caulk does not bleed underneath. This step is optional but worthwhile on painted or stained surfaces where cosmetic appearance matters.
Load and Cut the Caulk Tube
Insert the caulk tube into the caulk gun. Cut the tip of the tube at a 45-degree angle, starting with a small opening - approximately 3/16 inch. A smaller opening gives you more control; you can always enlarge the cut if the bead is too narrow. Pierce the inner foil seal with the built-in puncture tool on the gun or a nail.
Apply the Caulk in a Continuous Bead
Hold the gun at a consistent 45-degree angle to the joint. Squeeze the trigger with steady, even pressure while moving the gun smoothly along the gap in one continuous stroke. Aim to fill the joint fully without leaving gaps or applying excessive buildup. Work from one end of the frame to the other without lifting the gun mid-seam.
Smooth the Bead and Remove Tape
Within a minute of application, run a moistened gloved fingertip or a caulk finishing tool along the bead to press it firmly into the gap and create a concave, smooth profile. If you used painter's tape, remove it immediately while the caulk is still wet - pulling it away at a 45-degree angle. Waiting too long will cause the tape to tear the caulk skin.
Allow Full Cure Time Before Exposure
Check the product label for the manufacturer's stated cure time - commonly 24 hours for full cure, though surface-dry time may be shorter. Protect fresh caulk from rain, freezing temperatures, and direct sunlight until fully cured. Once cured, paint over the bead if using a paintable latex formulation; pure silicone caulk typically does not accept paint.
This article provides general home maintenance information. Local building codes and material conditions vary. For work involving significant damage, structural concerns, or hazardous materials, consult a licensed contractor or home inspector.
The content on this site is provided for informational purposes only and should not be considered a substitute for professional advice. While we strive to provide accurate and up-to-date information, we make no guarantees regarding its completeness or accuracy. Always consult a qualified professional for advice specific to your circumstances before making any decisions.