
Phones & Tablets

Things Worth Checking Before You Activate a New Phone

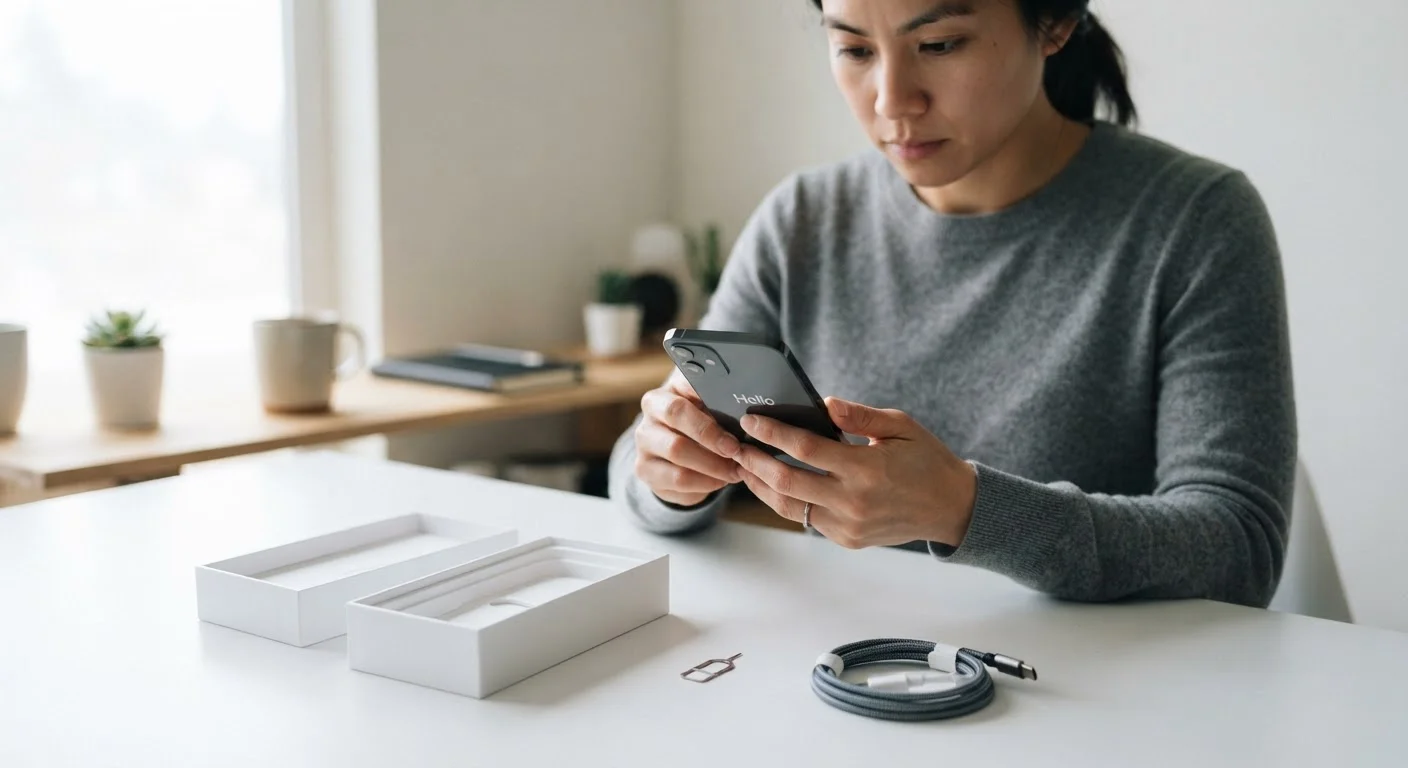
Things Worth Checking Before You Activate a New Phone

Photo: FaqExplorer.net | Informative Website editorial

A practical pre-activation checklist covering SIM compatibility, software updates, backups, and settings you shouldn't overlook.

Key Takeaways

  • Verify SIM compatibility and carrier unlock status before assuming a phone will work on your network.
  • Back up your old device fully before transferring data to avoid permanent loss.
  • Run software updates immediately after setup — factory firmware is often months out of date.
  • Review privacy and location settings during initial setup rather than after the fact.
  • Check physical hardware condition thoroughly before your return window closes.

Why a Pre-Activation Checklist Matters

Most people power on a new phone and dive straight into setup — but skipping a few foundational checks can mean discovering problems after the return window has closed, losing data from your old device, or ending up with a phone that doesn't fully work on your carrier's network.

This checklist is designed to slow things down just enough. Whether you bought a new phone at retail, ordered online, or received one as a gift, running through these items before you activate takes less than an hour and sidesteps the most common headaches. If you want to understand the hardware specs behind what you're buying, our guide to decoding smartphone specs is a useful companion read.

Before You Power On

Inspect the physical box for signs of tampering — broken seals, resealed tape, or missing manufacturer stickers can indicate the device was previously opened. Must
Examine the screen, frame, and back panel under good lighting for scratches, cracks, or pressure marks that shouldn't be present on a new unit. Must
Confirm the IMEI number on the box matches the IMEI found on the device itself (usually printed on the SIM tray or under Settings > About Phone). Must
Check the phone is not reported as lost or stolen by entering the IMEI into your carrier's verification tool or a publicly available IMEI database. Must

SIM and Carrier Compatibility

Verify the phone is unlocked or locked to the carrier you intend to use — a locked phone from one carrier will not function on another without going through an unlock process. Must
Confirm your existing SIM card size (nano, micro, or eSIM) matches what the new phone supports before attempting to transfer it. Must
Check which network bands the phone supports and compare them against your carrier's published band list to ensure you'll get full 4G LTE or 5G coverage in your area. Should
If the phone supports eSIM, contact your carrier ahead of time to confirm they can provision an eSIM for your account. Nice to have

Back Up Your Old Device First

Complete a full backup of your current phone to cloud storage or a computer before beginning any data transfer. Must
Verify that the backup completed successfully by checking the backup date and file size — a failed or partial backup will not protect your data. Must
Export or note down any two-factor authentication (2FA) codes or authenticator app entries, as these do not always transfer automatically and can lock you out of accounts. Must
Save contacts locally or confirm they are synced to your Google or Apple account so none are lost during the transition. Should

Software and Security Setup

After initial setup, check for and install all available system software updates before loading apps or personal data. Must
Set up a strong screen lock method — PIN, password, fingerprint, or face recognition — before signing into any accounts. Must
Review app permissions and location access settings during setup rather than accepting all defaults; restrict sensitive permissions to apps that genuinely need them. Should
Enable device encryption if it isn't on by default — most modern Android and iOS devices encrypt storage automatically, but confirm this under Security settings. Should

Final Hardware and Function Checks

Test the front and rear cameras, speakers, microphone, and charging port before your return window expires. Must
Charge the phone from 0% to 100% once and monitor for excessive heat or abnormally slow charging, which can indicate a battery issue. Should

Tools and Resources You'll Want Nearby

You don't need much to run through this checklist, but having the right items at hand will prevent unnecessary interruptions mid-setup.

Required

Your carrier's account credentials

Needed to activate the SIM, provision eSIM, and verify account compatibility during setup.

Required

SIM card tray tool (or a small paperclip)

Required to open the SIM tray on most phones without damaging the device.

Required

Your old phone and its charger

Necessary to complete a backup and run a side-by-side data transfer before deactivating your previous line.

Required

IMEI check tool

Used to verify the device hasn't been reported lost, stolen, or blacklisted before you activate it.

Required

Google or Apple account login

Needed to restore a backup and re-download apps and settings from your previous device.

Optional

Authenticator app backup codes

Ensures you don't lose access to 2FA-protected accounts when switching to a new device.

Carrier Settings, Calling Features, and Network Checks

Once the phone is activated, take a few minutes to confirm your carrier features are working as expected. Features like Wi-Fi Calling and VoLTE (Voice over LTE) — which routes calls over the data network rather than older voice bands — may need to be enabled manually in your settings. Our explainer on Wi-Fi Calling and VoLTE breaks down what each option does and when it actually matters for call quality and coverage.

Don't Skip the Return Window

Most carriers and retailers offer a return or exchange window of 14 to 30 days. Hardware defects like a faulty speaker, dead pixels, or a malfunctioning charging port may not be immediately obvious — test every hardware function during this period. Once the window closes, you'll typically be directed to a manufacturer warranty process, which is slower and more restrictive.

Run a quick test call, send an SMS, and confirm mobile data is active before you consider setup complete. These three checks catch the majority of activation errors that would otherwise surface at an inconvenient moment.

Carrier Locks Can Surprise You

A phone purchased through a carrier installment plan is almost always locked to that carrier until the device is paid off. If you're buying a secondhand phone or a discounted model through a promotion, confirm the lock status before assuming it will work on a different network. Using a locked phone on an incompatible carrier typically results in no voice service and no mobile data, even if the phone appears to power on normally.

Tech & Gadgets Editorial Team

FaqExplorer.net | Informative Website

Tech & Gadgets Editorial Team is the collective byline for our editorial team and contributor network. Articles published under this byline or an editorial pen name are researched, written, and reviewed according to our editorial standards for clarity, consistency, and independence before publication.

Phones & TabletsHome TechComputers & Laptops
View author profile

The content on this site is provided for informational purposes only and should not be considered a substitute for professional advice. While we strive to provide accurate and up-to-date information, we make no guarantees regarding its completeness or accuracy. Always consult a qualified professional for advice specific to your circumstances before making any decisions.